 PlayBloo
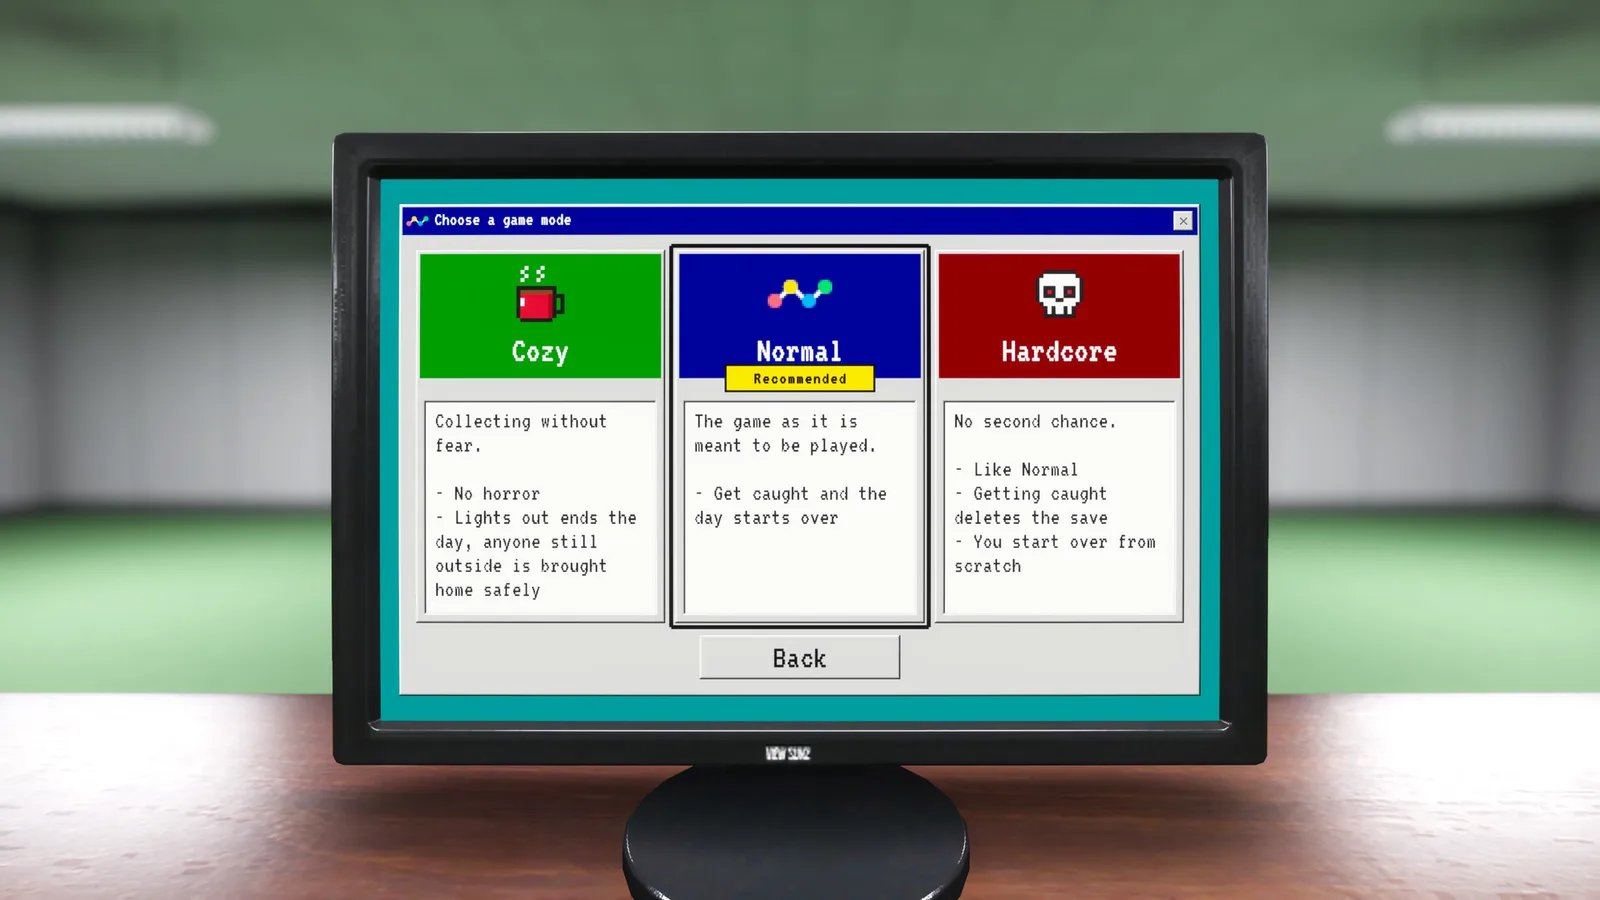
The loop: collect, fill, unlock, repeat
Every room in Playrooms runs the same loop, per the official description: collect the balls, bring them back, fill the ball pits. A filled ball pit unlocks new abilities, and the balls themselves are your currency — save enough and you buy the key to the next area. Nothing about the work changes between rooms; only the room does.
That makes pacing the whole game. First-time players tend to over-grab: a carry of balls you drop halfway costs more time than two smaller, completed trips. Build the habit of finishing what you carry before the tools tempt you into bigger loads.
Tools: scoop, flashlight and the rest
The store's tool section names a scoop and a flashlight as the gear examples: 'the more balls you collect, the more equipment you can afford.' Treat the scoop as your throughput upgrade and the flashlight as your insurance policy — the shift mechanic below explains why a light source is not optional in this job.
PlayBloo has not played the retail build, so we do not rank unlisted tools or quote prices. What the store establishes is the principle: equipment is earned from the balls you bring back, so early efficiency compounds.
The three difficulty modes
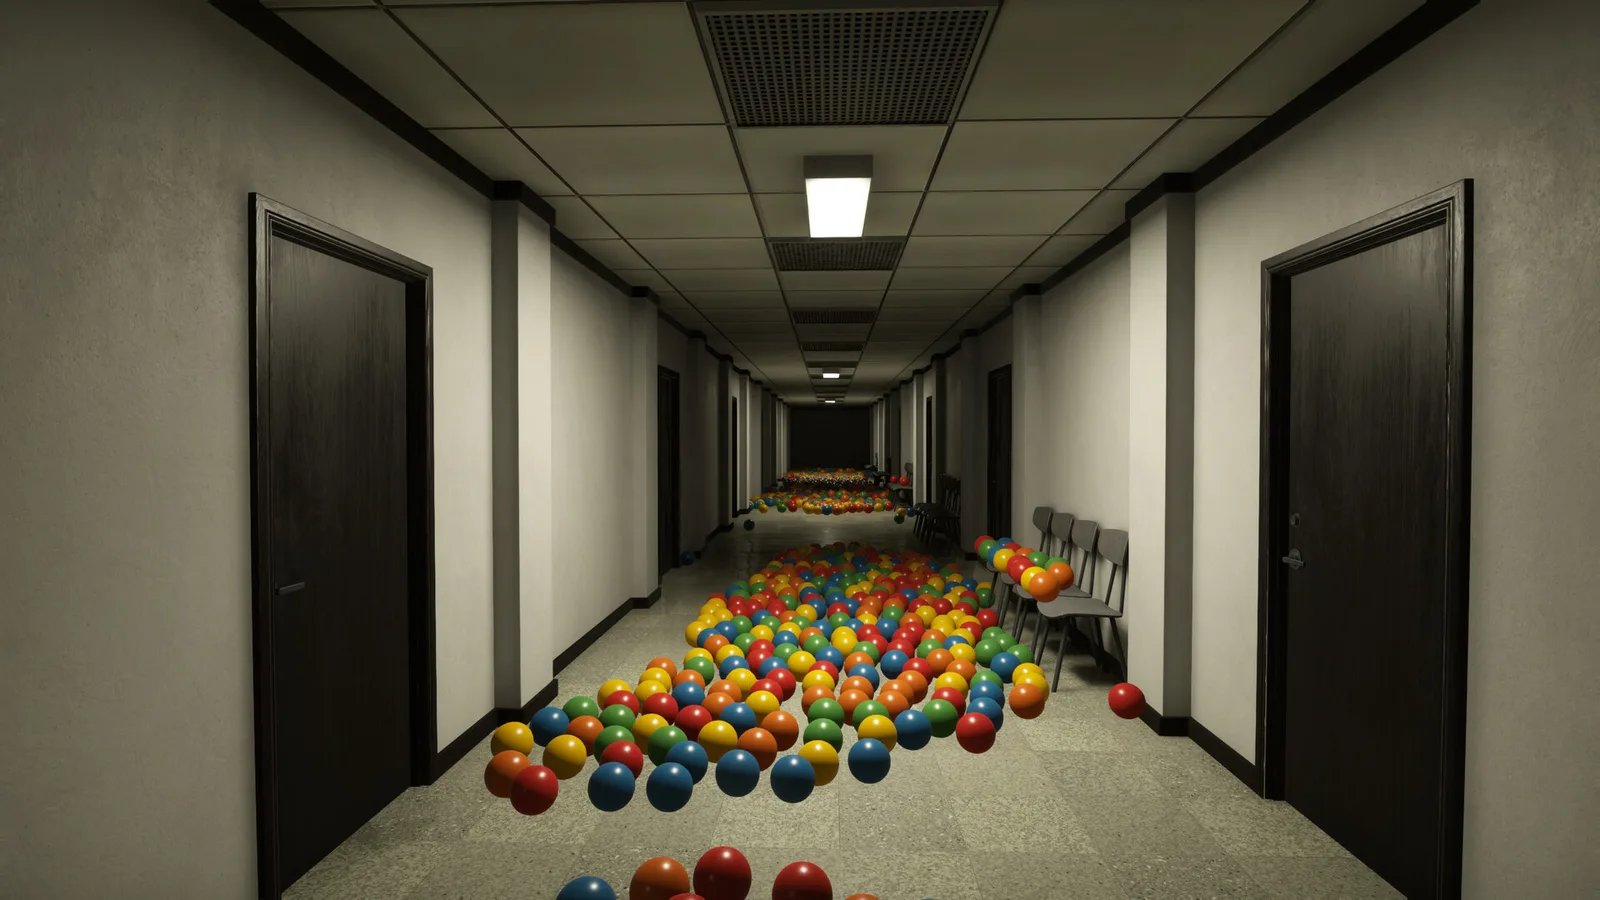
The official screenshots show the in-game difficulty selection screen with three named modes: Crazy, Normal and Hardcore. The store copy describes the same spread as 'flexible working arrangements' — no fear at all, the way it's meant to be, or no second chances.
The practical read: Normal is the authored experience where the end-of-shift darkness escalates as designed; the no-fear mode strips the dread for players who want pure tidying; Hardcore is for people who want the darkness to be a genuine threat. Pick deliberately before your first room — the horror level, not the cleaning, is what changes.
When the lights go out
The store's most-repeated rule is the shift rule: 'When your shift is over, the lights start to go out one by one. Then there is only one thing that matters: stay in the light!' The rooms are built for this — long sightlines, ceiling fixtures and corners that become dangerous pockets as the darkness spreads.
Beginner advice (editorial, not a playtested route): keep your return path toward a lit fixture rather than optimizing for the nearest ball, and treat the flashlight as a tool you maintain, not a luxury. The store's mature-content note warns about jumpscares and near-total darkness, so headphone volume is its own difficulty setting.
The room types you will rotate through
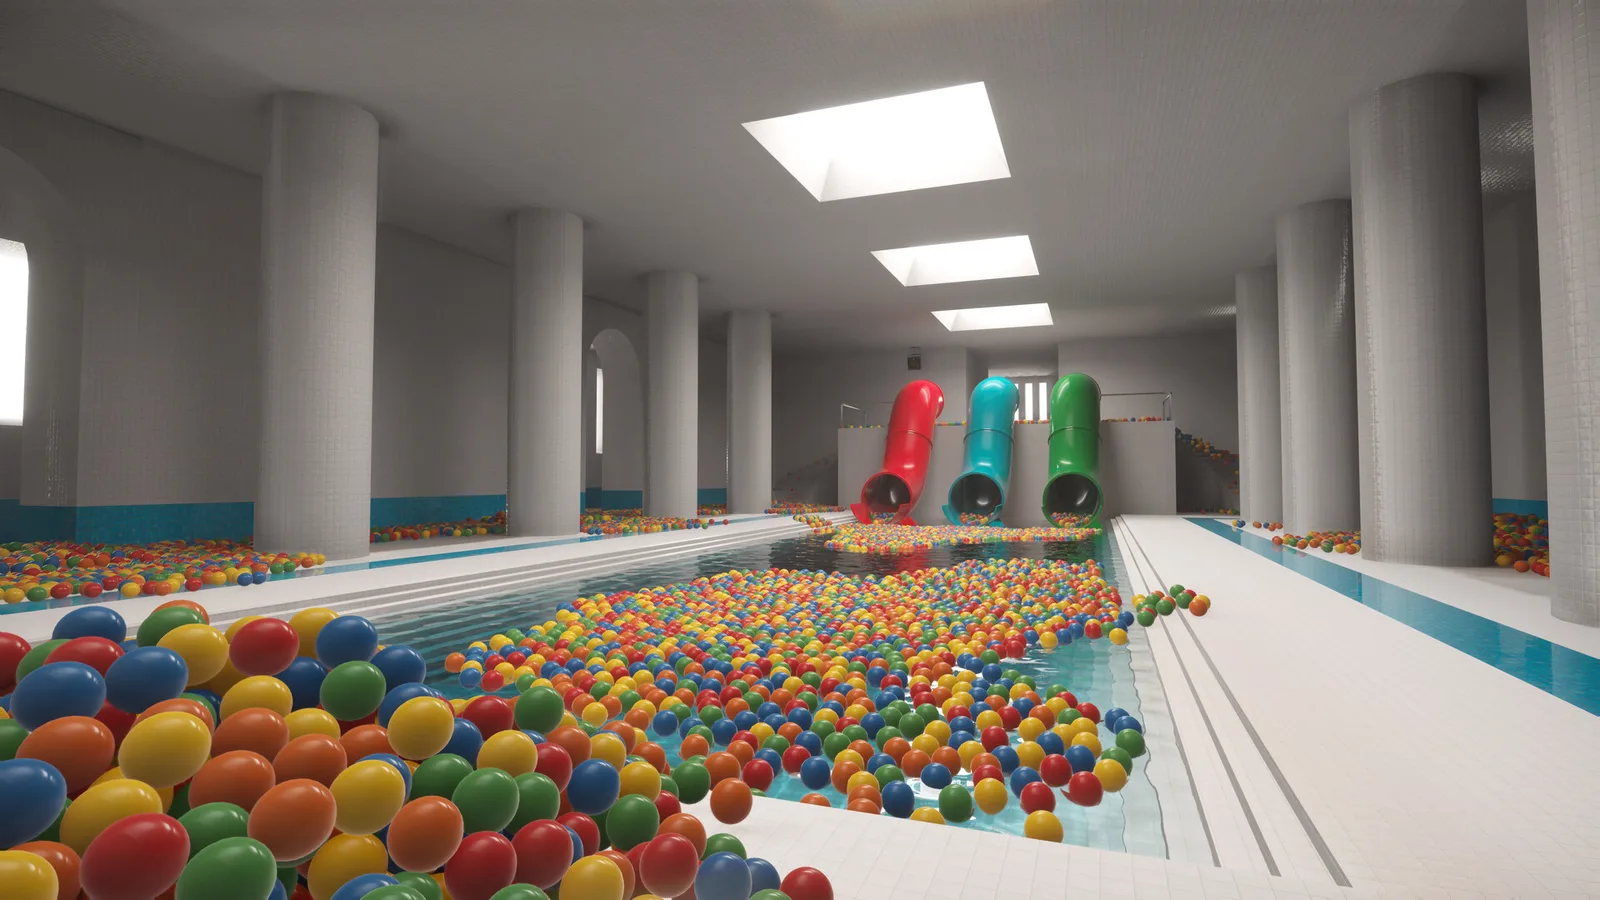
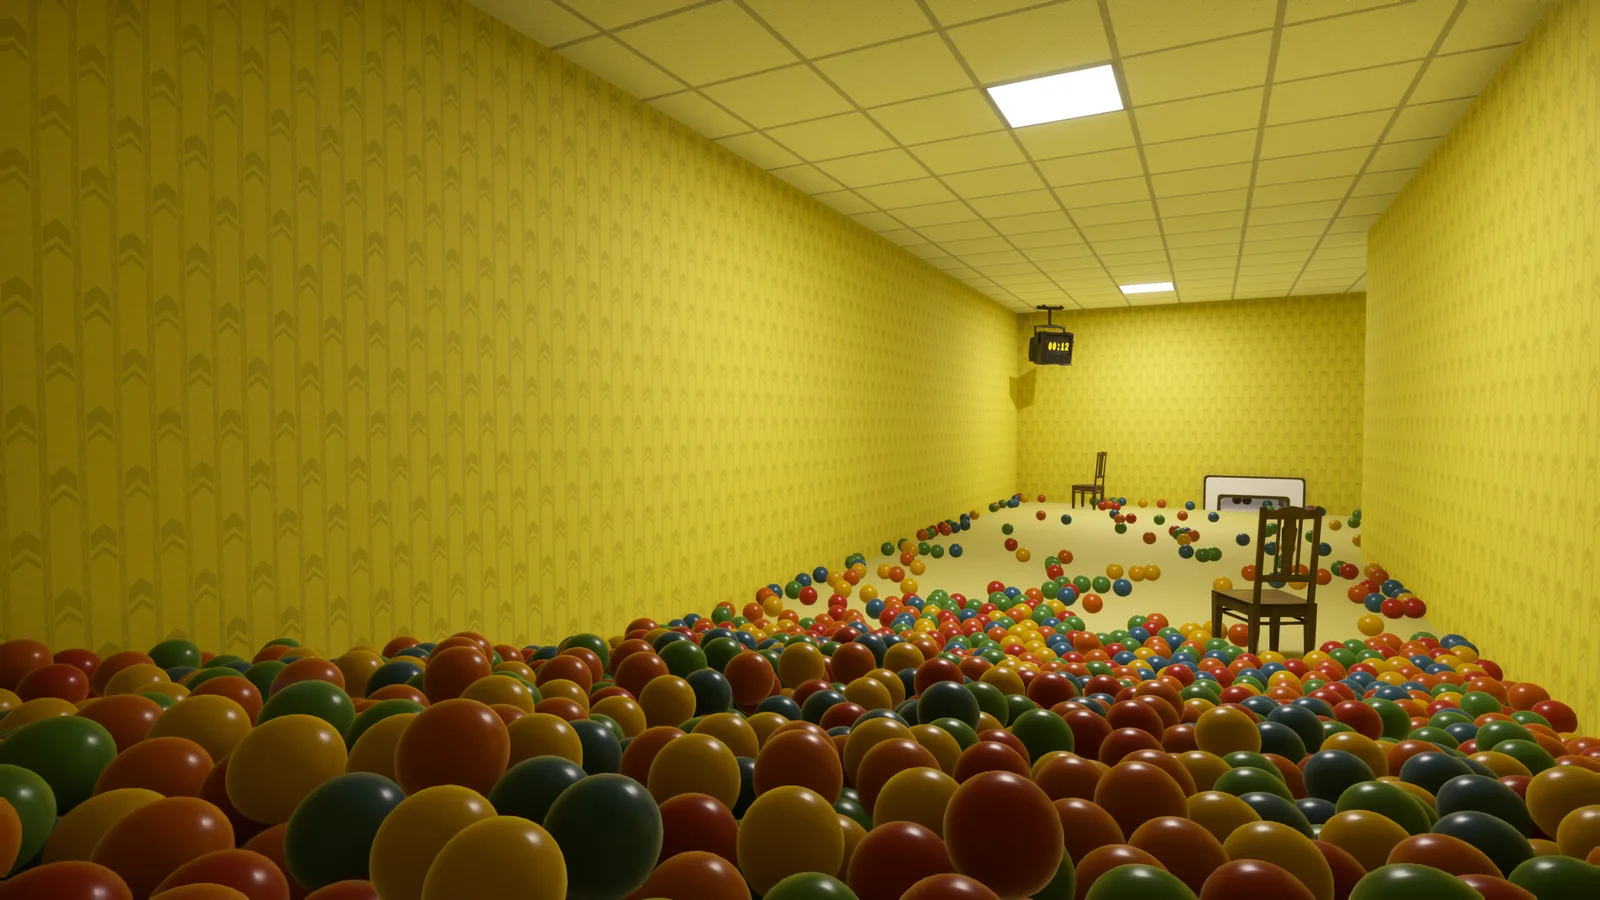
The store description sketches the room rotation: tiles, water, endless corridors, and a hallway with more doors than it should have. The official screenshots add the ball-pit lounge, an indoor pool drowned in balls, and office-style rooms with computer terminals. Each room keeps the loop identical while changing how you move through it.
Community walkthrough sites such as playrooms.xyz track room-by-room details, but they are fan-maintained and can drift from patches — treat them as guides to cross-check, not as official documentation.
Beginner checklist
- Choose your difficulty before the first room — Crazy, Normal or Hardcore changes the dread, not the chores.
- Bring balls home in loads you can finish; dropped trips cost more than they save.
- Buy the scoop early for throughput and keep the flashlight maintained for shift end.
- Fill pits completely — the unlock and the key to the next area both come from the pits.
- Headphones and volume are part of the horror settings; the game warns about jumpscares up front.