SHAPE Walkthrough (Colorbomb): Web Version Hints & Solutions
SHAPE walkthrough for Colorbomb’s web Demo, from room 12 to the exit. Follow puzzle screenshots, gentle hints and expandable solutions. Web version only.
Browser (Demo)September 13, 2026
Find your guide
Choose your next read
Before you start: this is the web Demo
This SHAPE escape walkthrough covers Colorbomb’s browser Demo (web build v17), not the complete Steam game. SHAPE continues TRACE’s story; its full version is included as a free update for owners of TRACE Definitive Edition. The base Steam game is a separate purchase.
Use the room and puzzle names in the contents to jump to your current obstacle. Read the gentle hint first, open the stronger hint if you need a direction, and reveal the full answer only when you want the solution.
Room 12: shopping list and O/X panel
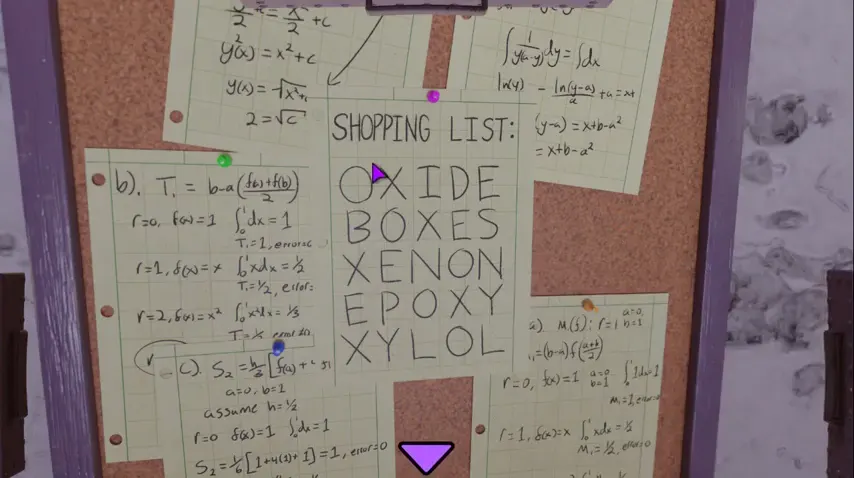
Gentle hint: The five items on the list are exactly five letters long, like the rows of the nearby wall panel.
Show a stronger hint
Keep only O and X from each word. Put those two letters in their original column positions, leaving all other squares blank.
Reveal the full solution (spoilers)
- Read the list from top to bottom: OXIDE, BOXES, XENON, EPOXY, XYLOL.
- Fill the five rows of the O/X panel as OX···, ·OX··, X··O·, ··OX·, X··O·. The dots mean leave the square blank.
- The panel releases a blue key beneath it. Pick up the key for the next part of the room.
Room 12: yin-yang note and number wheels
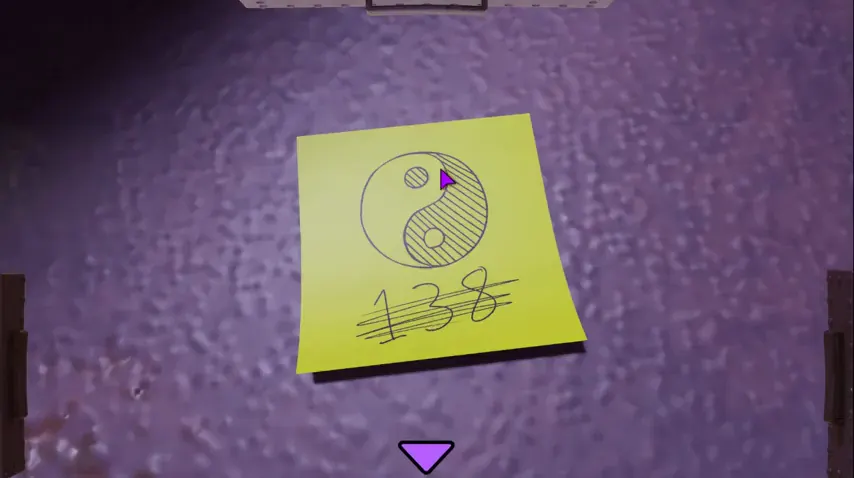
Gentle hint: The yellow note is not asking you to enter its crossed-out number directly. Compare it with the light and dark halves of the circular devices.
Show a stronger hint
Each three-wheel device has its own answer. Read the digits across the center line of the wheels, and treat the dark and light devices separately.
Reveal the full solution (spoilers)
- After the O/X panel, collect the blue key and inspect the glass cabinet, including the yellow yin-yang note and the objects on its shelves.
- Set the dark circular device to 347 across its three center digits. Set the light circular device to 458. These are separate combinations; do not type 138 from the crossed-out note.
- Continue checking the devices as the room changes. A later three-wheel stage uses 958; if a device still shows a new lock, it belongs to that later stage.
Room 12: four color pads and symbol strip
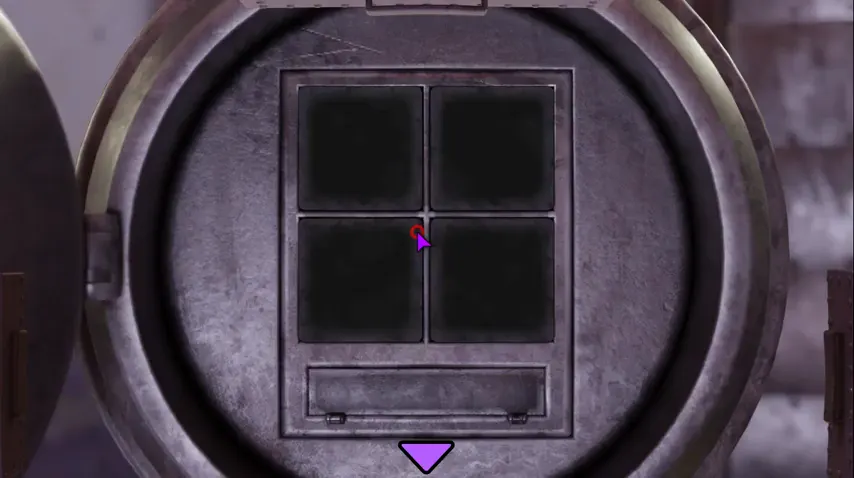
Gentle hint: Watch the colored flashes and the four pad positions before clicking rapidly. The square you press matters as much as the color you see.
Show a stronger hint
Work through the color-pad stage until the small slot beneath it opens. The strip inside is a clue for the later shape display, not the floor drain.
Reveal the full solution (spoilers)
- Complete the four-pad color interaction on the round device. It cycles through colored flashes rather than presenting a single permanent four-color picture, so copy the flashes and their positions as they appear in your run.
- Take a photo of the symbol strip that appears in the slot below the pads. You will use its flat diagrams at the six-position display near the end of the Demo.
- When the later light number-wheel stage is available, set its center digits to 958 to continue opening the room.
Room 12: floor drain and four-digit lock
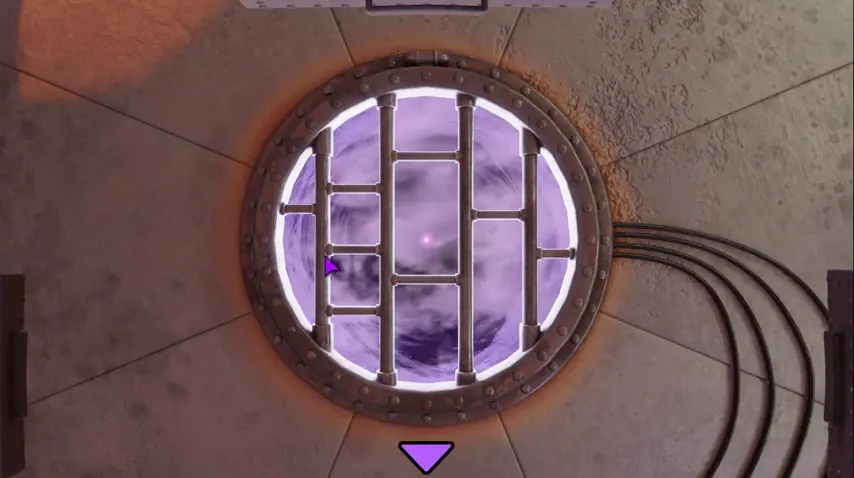
Gentle hint: The drain is a clue to the four-digit lock by the clothes, not a mechanism you need to remove.
Show a stronger hint
Study the conversion examples on the device below the glass cabinet. Translate the shapes in the drain grid into digits, then read them in the device’s order.
Reveal the full solution (spoilers)
- Inspect the example device beneath the glass cabinet to learn how its diagrams turn into numbers.
- Apply the same rule to the four sections of the floor drain grid. Read the results in the indicated order: 4, 5, 3, 2.
- Enter 4532 on the four-digit lock behind the clothes.
Room 12: two nine-dot panels
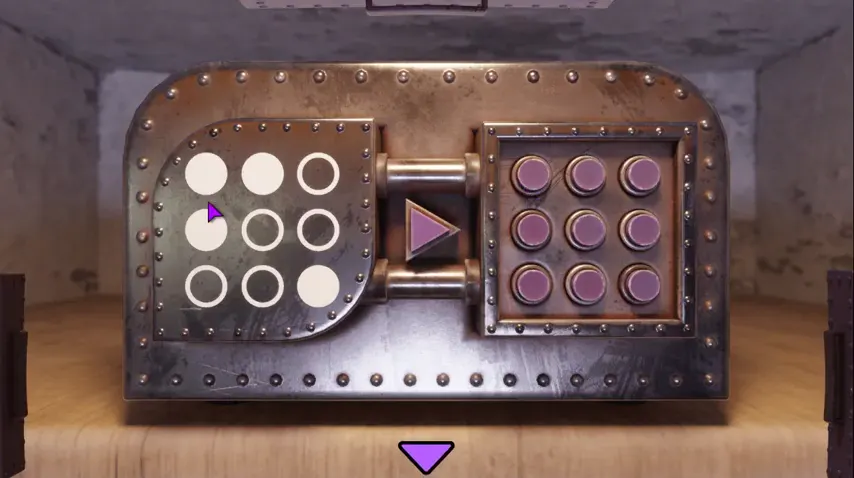
Gentle hint: The two grids show the same nine positions from different sides. A lit dot in one row does not necessarily stay in that row on the other panel.
Show a stronger hint
Exchange the top and bottom rows while keeping the left-to-right order within each row. The middle row stays in place.
Reveal the full solution (spoilers)
- Inspect the smaller demonstration panel and the connected nine-dot device. The rule swaps the top and bottom rows without mirroring the columns.
- On the left input grid, light the top-left dot, the center dot, and all three dots in the bottom row. Leave the other four dark.
- The corresponding right-side display shows all three top dots, its center dot, and the bottom-left dot. Once the input matches, the device opens the route to the dark window puzzle.
Room 12: dark window and moving light
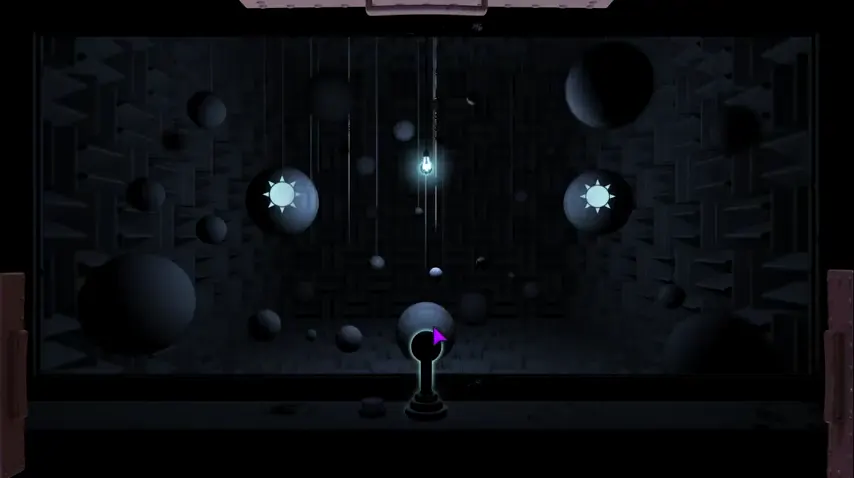
Gentle hint: The short handle at the bottom moves the view; it is not a button to press once.
Show a stronger hint
Click and drag the handle sideways to line up the bright moving object with the star-like target. Watch how the hanging lights shift as you move.
Reveal the full solution (spoilers)
- Open the dark window after the nine-dot device has activated the door.
- Drag the bottom handle horizontally until the bright object reaches the star-like target. Keep adjusting rather than repeatedly clicking the target itself.
- After the window sequence, check the illuminated clue strip on the side table. Its small black-and-white shapes help with the final geometric display.
Room 12: six solid shapes and the exit corridor
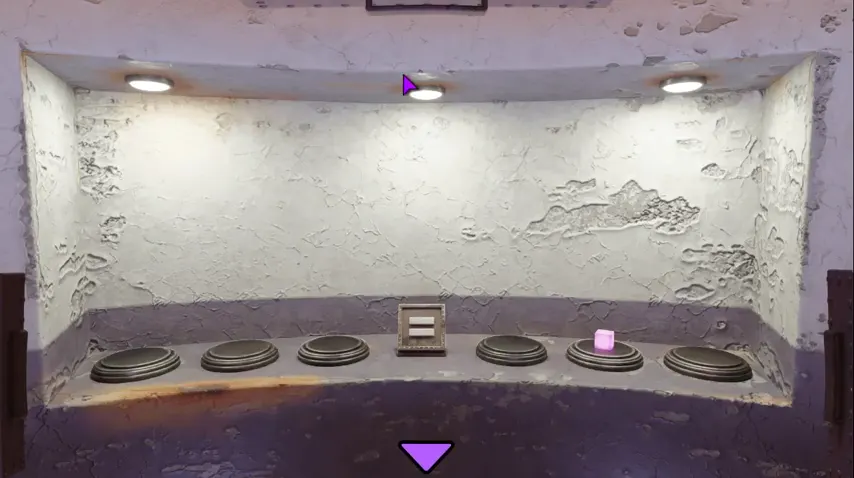
Gentle hint: The line drawings above the display are nets: flat patterns that fold into solid objects.
Show a stronger hint
Inspect the pink solids in your inventory and match each one to a flat net. Read the answer across the six pedestals, left to right.
Reveal the full solution (spoilers)
- Collect the six pink solids around room 12, including the one near the plants and the object released from the closet after entering 4532.
- Place them from left to right as a tall rectangular prism, a cylinder, a short box, a small pyramid, a cone, and a faceted many-sided solid.
- When all six are in place, use the switch in the middle of the display. The corridor leading out of room 12 opens.
Corridor: key-shaped socket and triangle exit
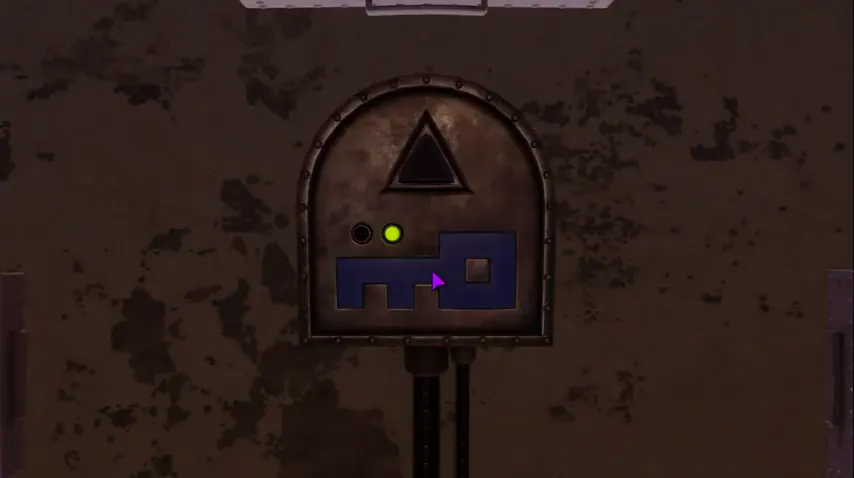
Gentle hint: The shape of the blue key matches a socket on a small wall device near the last door.
Show a stronger hint
After inserting the key, look for the indicator light beside the large triangle. The triangle is the final control.
Reveal the full solution (spoilers)
- Walk through the corridor unlocked by the six-solid display.
- Use the blue key on the matching wall socket near the last door. Wait for the device's indicator to turn green.
- Press the lit triangle and continue through the exit to finish the browser Demo.
Water tank: a full-game puzzle
The red blocks that move underwater are not a solvable puzzle in the web Demo. Colorbomb confirms this in a reply on the official game page. Leave this mechanism alone when working toward the Demo exit; an unfinished tank does not mean you have missed a required Demo solution.